Van Conversion Part 4
Van Conversion Part 4 is sort of the beginning of the end: time to put it all together!
Start at the Beginning
In this case, the beginning is that thing you have to do before you can do anything else, i.e., the floor. Originally, I intended the camper to be a four season vehicle, so the floor would need to be insulated. I was going to use some leftover rigid foam insulation as the base layer. Next, I planned on installing some leftover heart of pine flooring to get the look I wanted (i.e., rustic industrial chic). Unfortunately, this was not to be since space is really hard to come by in the cabin interior, especially in the “height” direction.
When I first got the van there was an area rug on the floor (Before picture of Van Conversion Part 1). It was installed bottom side up and had cutouts for the wheel wells. Taking it out was easy. But I with the rug installed I only had about a half inch of clearance between the top of my head and the roof. So much for a nice wooden floor over foam insulation!
Plan B, Again!
I next decided to check out those nice laminate flooring products. Turns out they wouldn’t work too well, either. The floor of the van itself isn’t exactly “flat and level.” I decided that the next best option seemed to be some kind of carpeting.
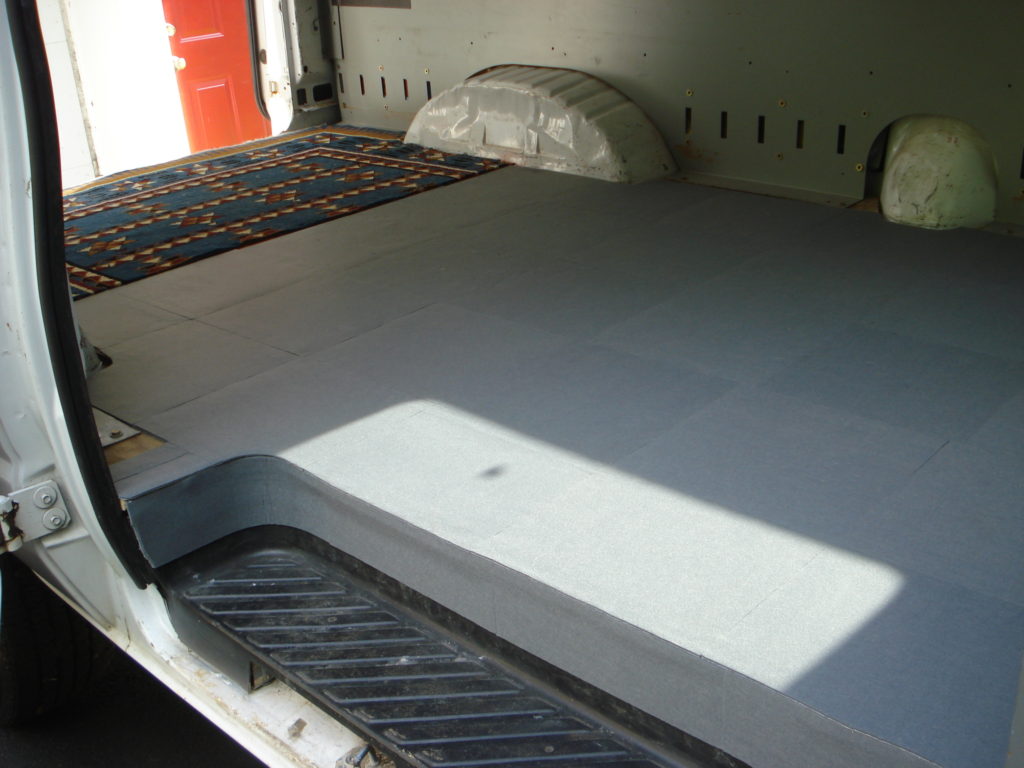
When I looked at the top side of the area rug that came with the van, it in was pretty good shape. But because of the wheel well cutouts, it wasn’t going to fit the entire length of the van. However, it would still be good enough for the storage area, as shown below.
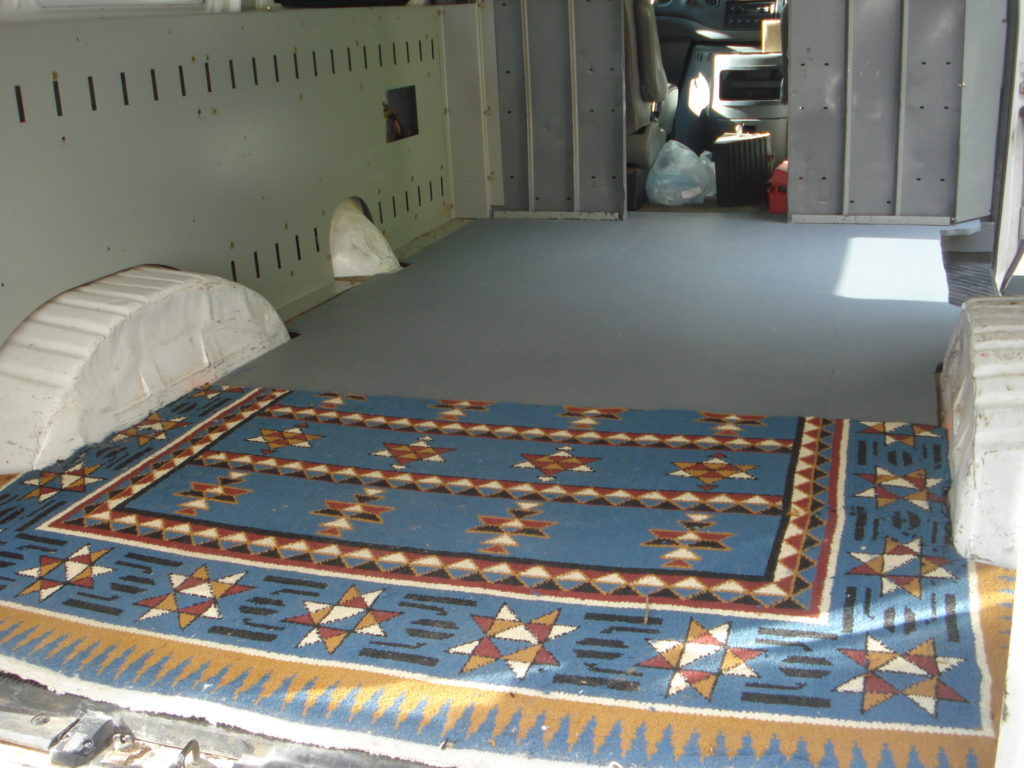
I wanted something “less busy” for the cabin interior, so grey carpet tiles and double sided carpet tape were used for the rest of the floor.
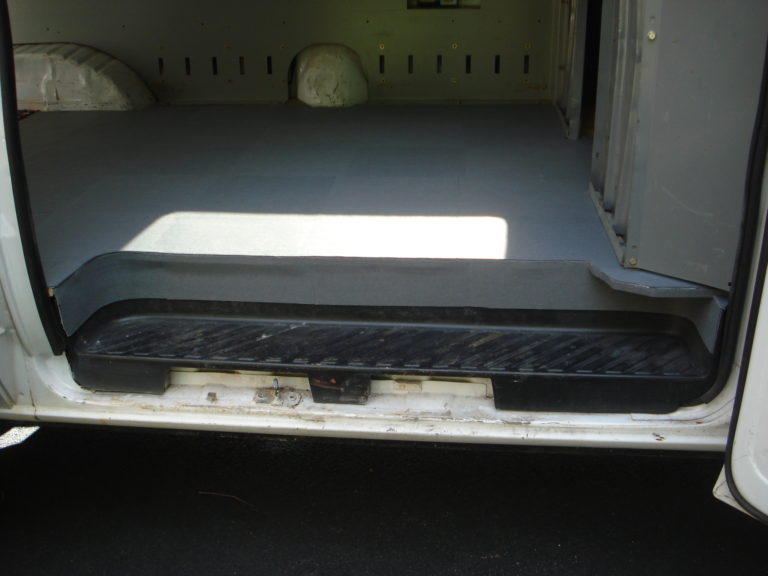
I used (my favorite!) gaffer tape to make the edge of the side step a little easier to see. This edging helps to make it look a little more presentable, too.
Solar Array
At about this point in the build I was also able to do some of the projects that had to be done, sooner or later. The biggest of these projects was installing the solar array to charge the on-board batteries. It turns out that I didn’t have to make some of “those project decisions” because of how the extended roof is made. There are no straight lines on the roof; everything is a curve. Well, that means I won’t be installing anything rigid on the roof. So, I had to secure a flexible solar array to the roof, somehow. This is another “easy” solution because there is a flexible way to secure the array to the roof, even when driving around.
At my favorite online retailer, I found an adhesive hook and loop tape that works fairly well. The adhesive on the tape is stronger than the hooks and loops. This means when you separate the hooks from the loops both pieces of tape stay where you put them. I put the hooks on the roof and the loops on the solar panel. This just makes handling the array a little easier.
But Yet, Another Worry
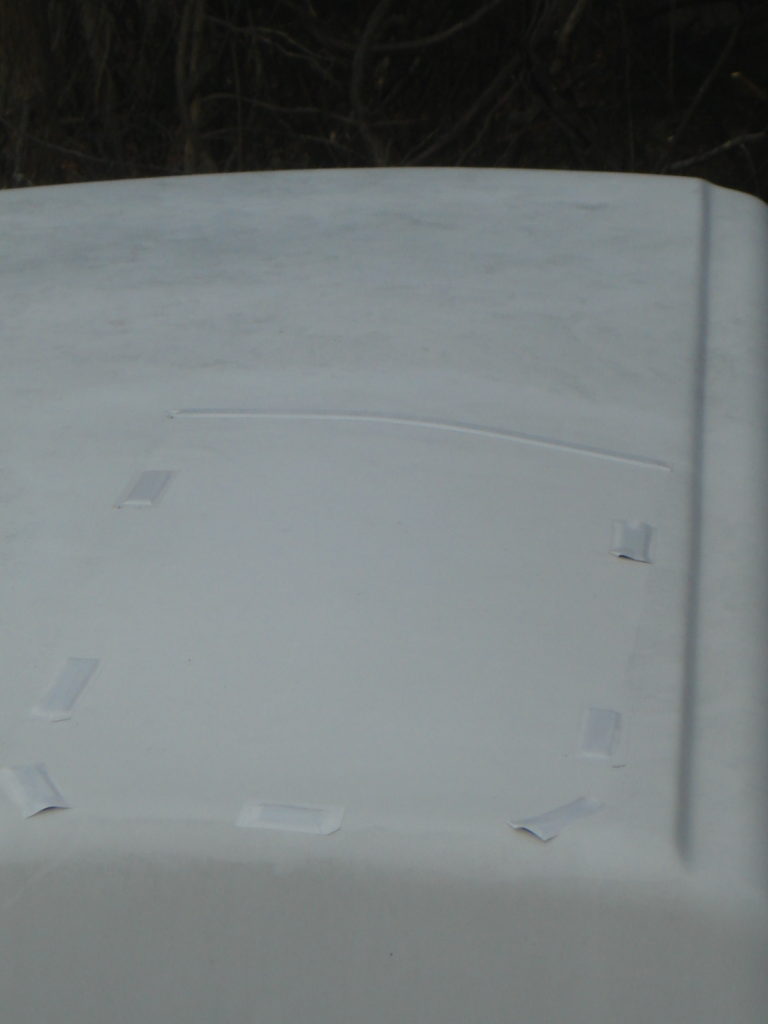
Since I left the hard plastic loops on the roof, I was worried that the UV rays from the Sun would deteriorate the hooks. This has to do with the UV rays “rearranging” the chemical bonds of the plastic hooks. It’s called crosslinking and makes the plastic more brittle and easier to break. To solve this problem, I’ll cover each of the hook strips with greenhouse repair tape when the array isn’t on the camper. Because this stuff is meant to be in the Sun, it can take the UV ray “hit” better than the hooks themselves. The hassle factor should be lower this way, too. I hope this way I won’t have to replace the hook tape frequently.
This photo shows the array on the roof, along with the cable and connectors to get the cable inside the camper. The exhaust fan is just above and to the right of the connectors.
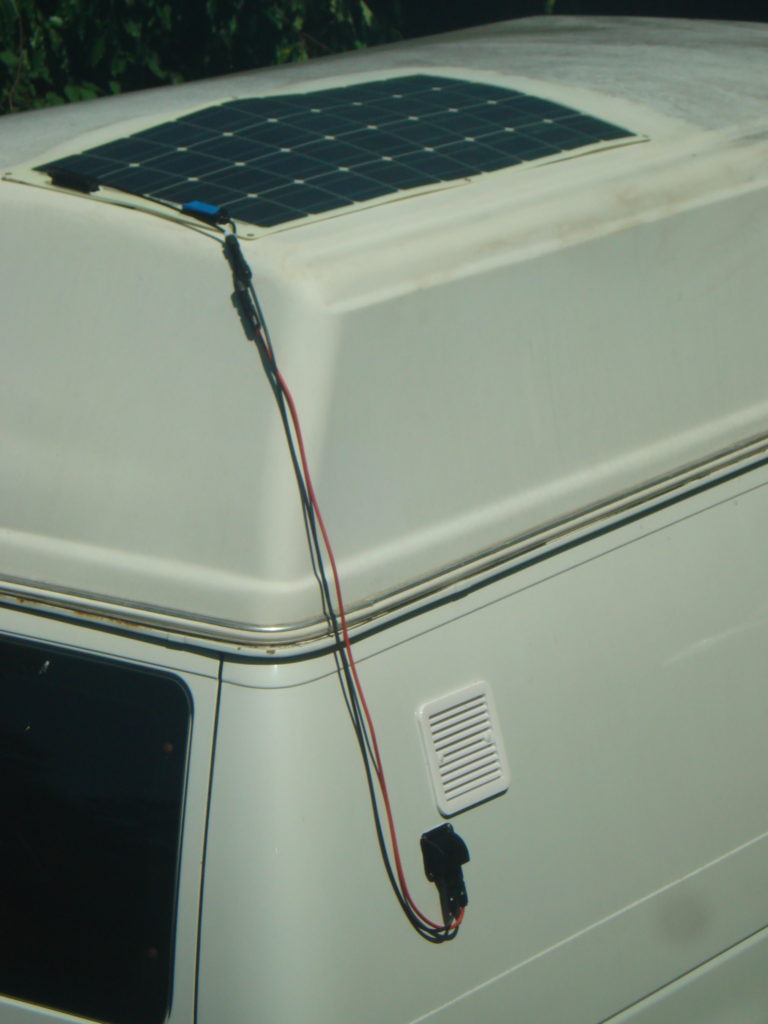
The next photo shows the hooks on the roof covered by the greenhouse repair tape. The front/leading edge of the array has hook and loop tape for the entire width (about the middle of the picture).
More Electric Stuff, etc.
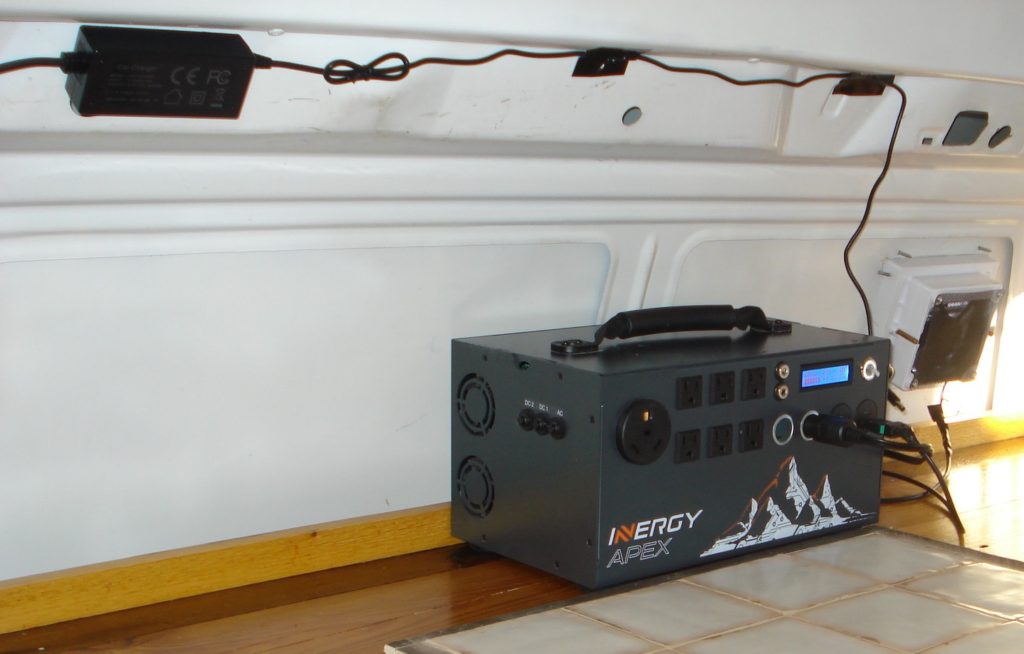
The central component to the camper’s electrical system is an Apex battery made in the USA by Inergy. The Apex is a lithium-ion battery with a built in power management module (shown below). This means the Apex can be charged with a solar array, a vehicle engine, or regular household current. There is a newer version of the Apex but I decided to stick with it because I like options. The Apex also has an RV plug “for connecting to [an] RV shore power cord”, just in case it is needed.
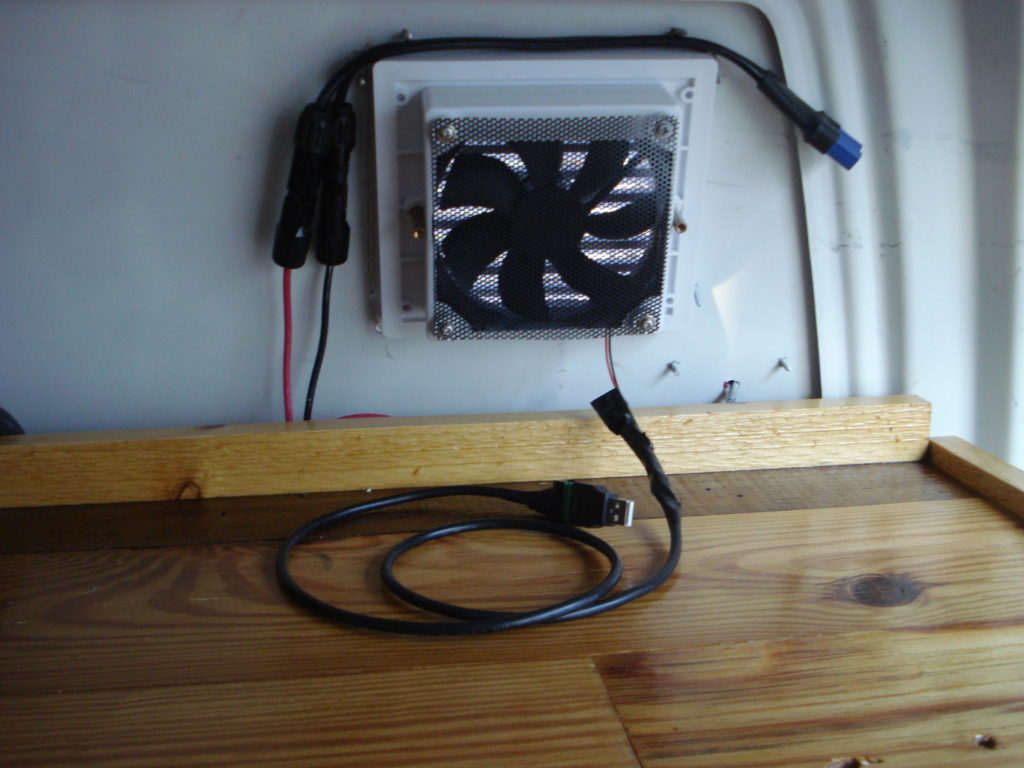
Here’s a picture from inside the camper showing the exhaust fan and the end of the solar cable. The blue connector plugs into the Apex to charge the battery. The exhaust fan is 12 VDC, just like what goes through a USB connection. It was pretty straightforward to attach a USB connector to the fan, as shown below. This allows the fan to be plugged into the Apex, as well.
And, finally, to make the interior a little more presentable, I made door cards for each of the two rear doors and the two side doors. This is the right rear door:
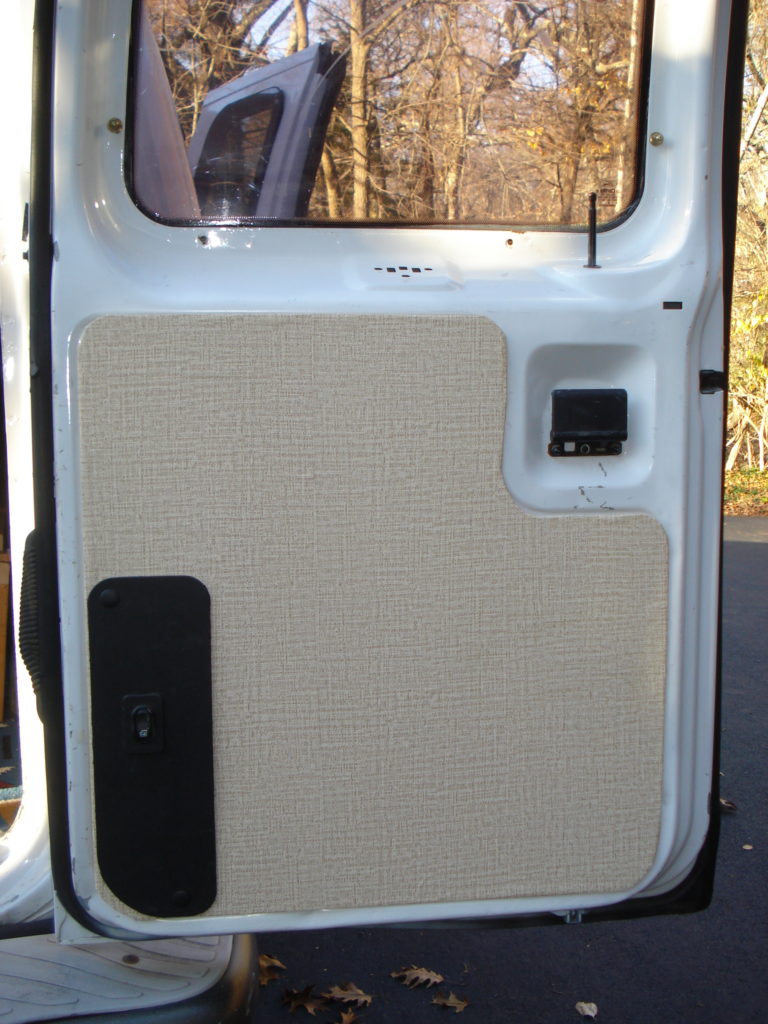
These are nothing more than corrugated plastic signs cut to size and covered with adhesive drawer liner.
That’s About It
…for Van Conversion Part 4. Next up is all about finishing off the cabin interior, so stay tuned!