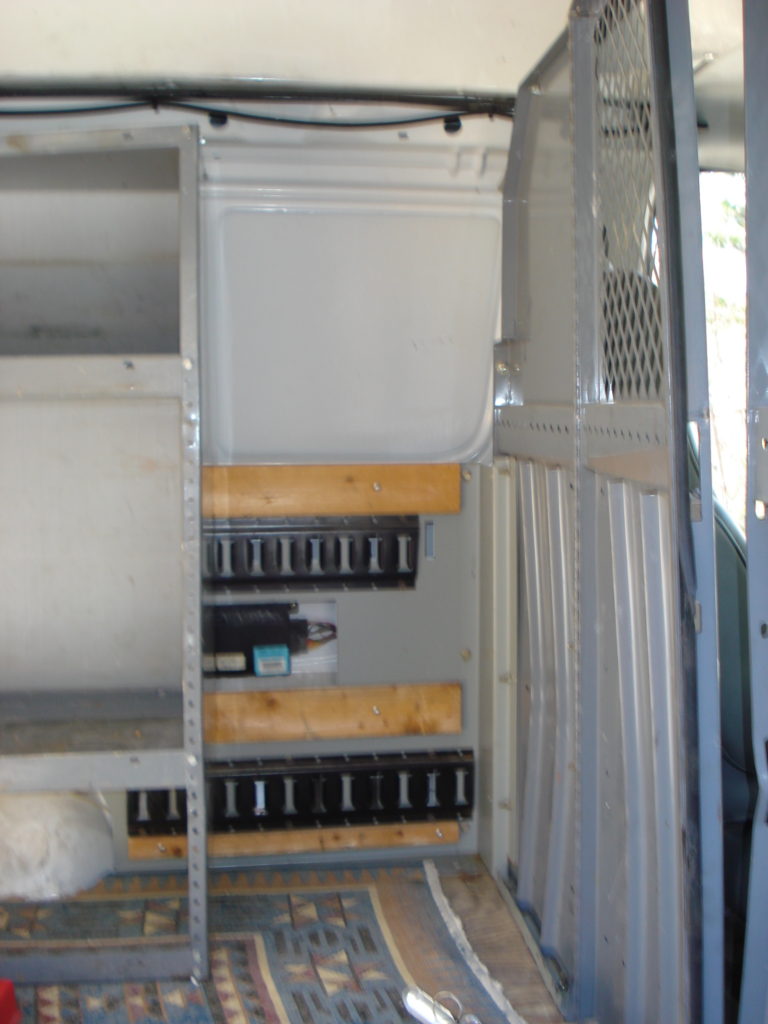
Van conversion part 1 is “demo day!” I get to get rid of all the stuff that made it a delivery van. This means taking out the shelves, rug, partition door, and the wood and metal pieces on the walls. These are all shown in the BEFORE photo.
In the Beginning
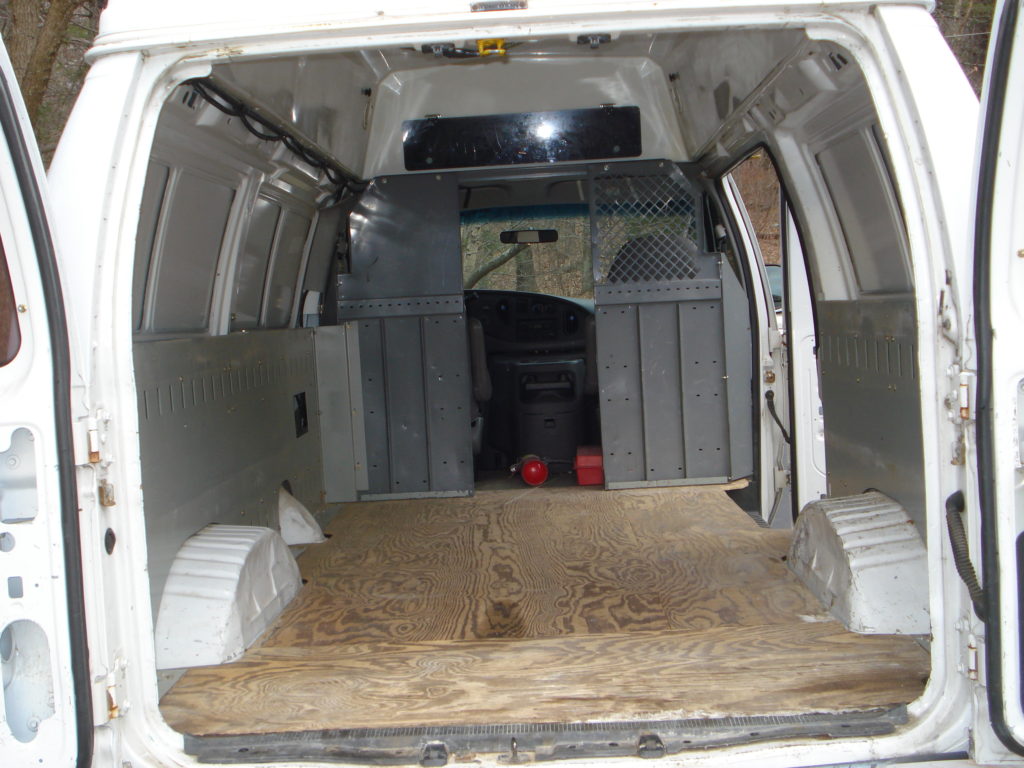
My plan was to take out everything that wasn’t original to the cargo area: floor, partition, walls. I wanted to put rigid foam insulation on the floor, then cover that with leftover hardwood flooring. Problem is that the extended roof is not quite high enough. With the floor in place, I’ve got about one inch of headroom. If I took out the floor (3/4” plywood), put down the insulation and new flooring, I’d be banging my head on the ceiling, a lot. Turns out I’ve got just enough head room to put down a laminate floor like Pergo.
They Made It a Delivery Van
As for the partition, the hassle factor is too high to take it out, entirely. It’s been riveted to the frame on both sides. I don’t think a grinder will have the clearance to get to all of ‘em. And I didn’t feel like drilling each one of ‘em out, so the partition stays. I did, however, take out the door in the middle of the partition. Also, I tried to bang out the sides a little to get them to look kinda straight. Whoever made the van into a delivery vehicle didn’t want anyone taking out all of their hard work.
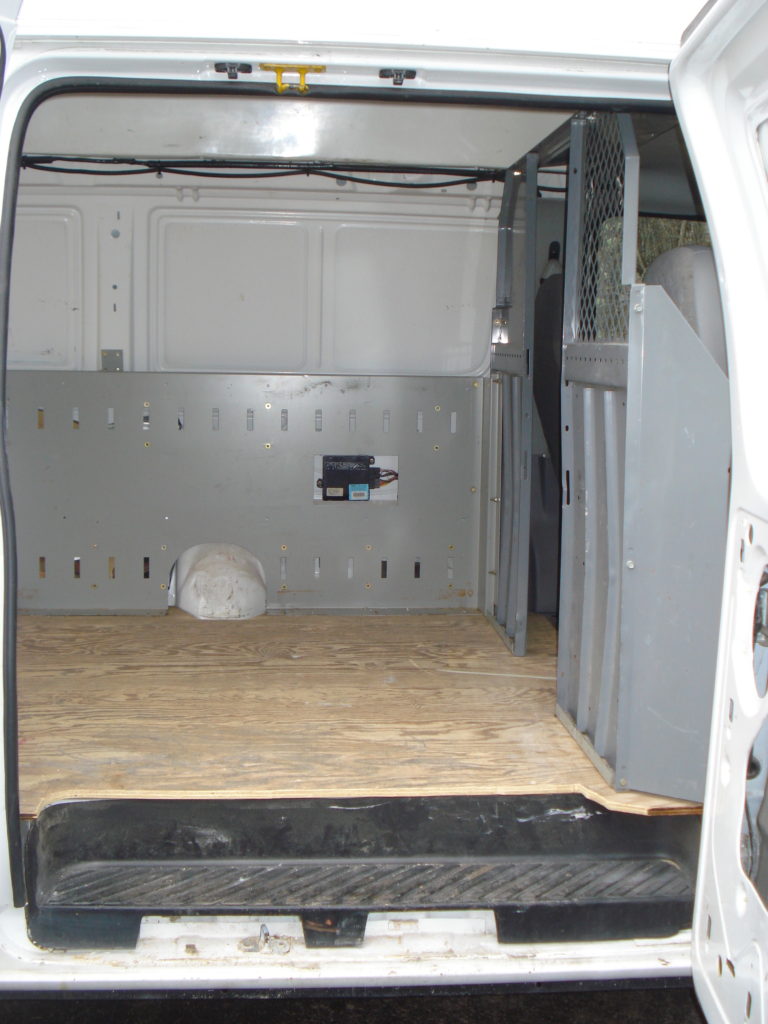
After seeing how the walls and floor were installed, it didn’t make sense to take out the walls. Since the floor stays, the walls will, too. However, I did take the metal pieces and wooden boards off of the walls. I figured I could save a little on the overall vehicle weight without them. This wall may show on the driver’s side so the question of how to finish it will have to wait until later.
And the Rest
Taking out the shelves proved to be a bit of a challenge. The shelves were screwed into the floor and carriage bolted to the wall. The floor screws were easy to remove. However, the carriage bolt nuts were not readily accessible with a socket wrench. And the reciprocating saw wasn’t much use either. Finally, I just drilled out the carriage bolts and now I have a nice set of shelves in my shed.
The rug was easy: just a pull and a rip and it was out. Since I’m going to put laminate down, I did have to get all of the nails out that held the rug down, though.
Finally, I cut out part of the floor that was over the step for the doors on the passenger side. I’m guessing the previous owner rarely used the side doors. They must not have been aware of what a pain it was to use the side doors with the floor covering the step. After a good broom cleaning, this is what I’ve got to start the build…
End Van Conversion Part 1
So, given the van’s history, the demo, and my own preferences, I’m going for a rustic industrial chic vibe. Yeah, just like this(?). OK, we’ll see!
But first, a few preliminaries before I can get there…
Coming next: planning and designing.