Van Conversion Part 3
Van Conversion Part 3 is all about the cabin interior framing…which isn’t to say there is external framing, because there isn’t.
How Good is Your Model?
For most of my engineering career I got to play with models, computer models actually. This is part of the reason I know a little about nuclear engineering. I used to use a computer to model possible accident scenarios to find out how bad things could go wrong. Before you can model the accidents, though, you had to have a lot of confidence that your model will also predict the normal operating conditions of the reactor. Thus the question of “how good is your model? In the nuclear engineering world my answer was “damn good!” In the van conversion world, the answer is “Well, it depends…”
Just a Place to Start
The framing plan that I developed, as with ALL plans, was intended to be the first of many passes at the design before I’d call it done. (According to Alex Webb of TV’s Barnwood Builders, “every project is 30% plannin’, 30% doin’, and 40% fixin’ the plannin’ and the doin’.”) Realizing that, even though my initial framing layout is accurate to the inch, I wouldn’t be able to recreate it 100% from the plans. I even tried to account for the dimensions of the framing material in the plan. This made my model a little more accurate, but still not damn good. So, of course, the design will be modified, again!
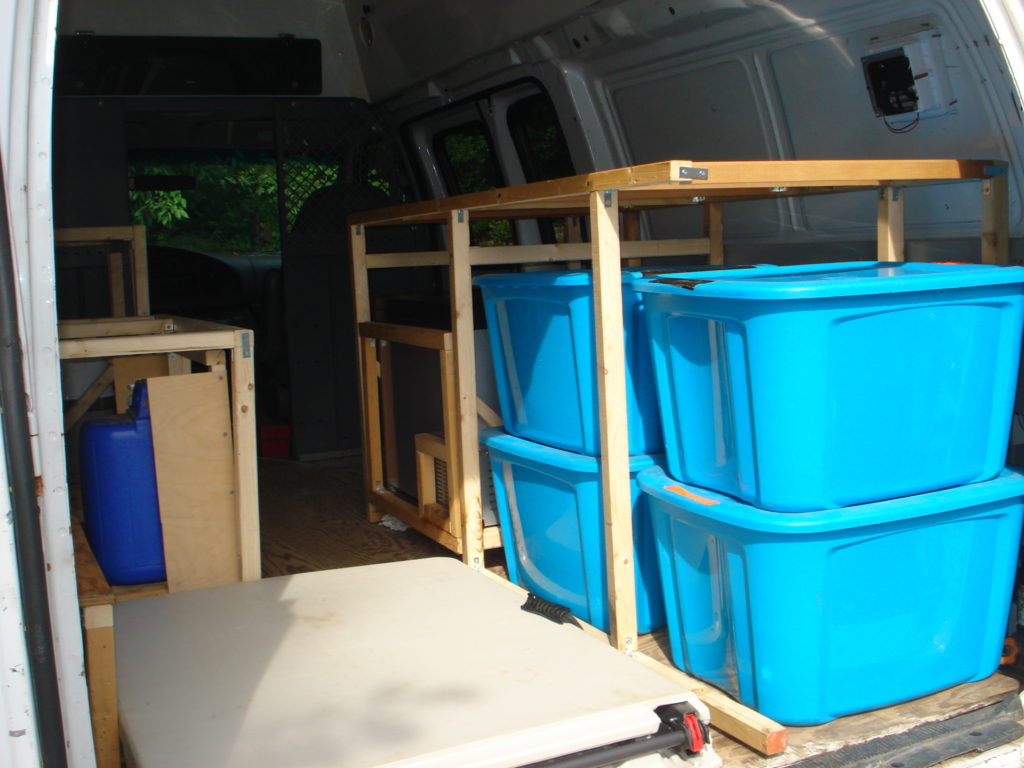
As a reminder, the priority in allocating space for this build is fitting ALL of my wife’s basket booth stuff. I made sure the booth stuff will fit by first placing the various booth components in the space, and then placing the framing members accordingly. The space that is left makes up the cabin interior, i.e., where the people live.
Allocating space in the cabin interior started by determining how much space the sleeping area required, at least it’s length. I measured from the back of the van to the front to figure out where the foot end of the sleeping area would be…but it turns out I can’t go past the fuel filler pipe, anyway, so that settles the left side. On the right side, the door will limit how far forward that counter will extend. This just leaves the toilet slide out and table on the left side.
And Then Reality Set In
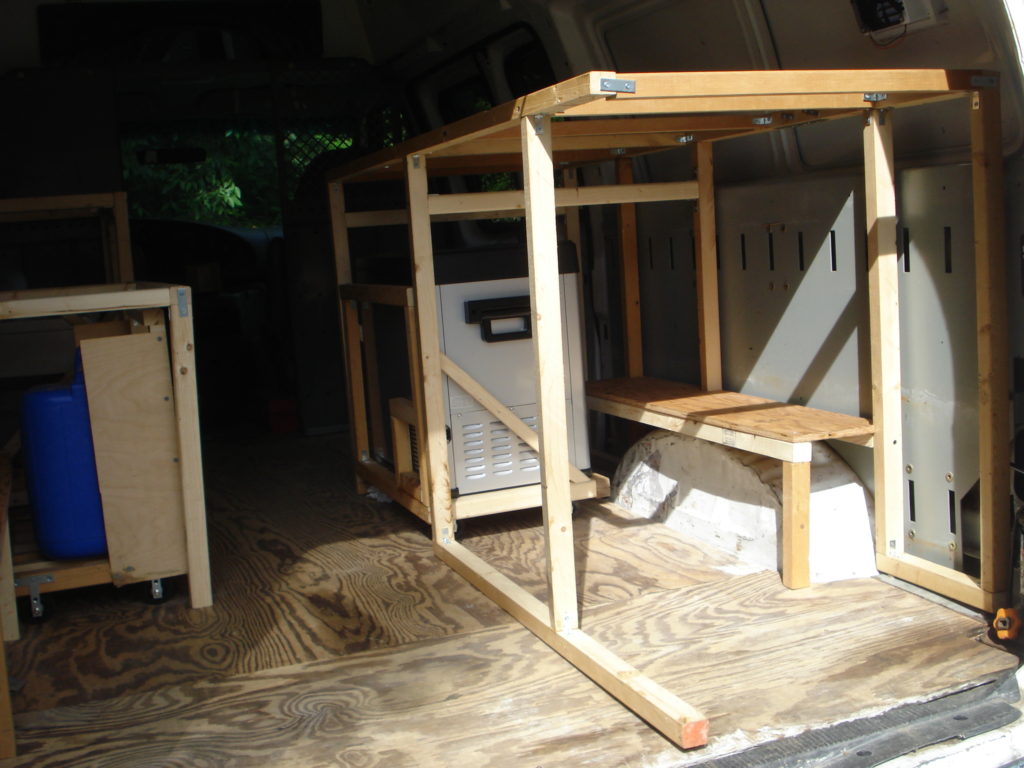
The right side framing design had to change at least once because the first refrigerator I got didn’t work. The second refrigerator works really great, but isn’t the same dimensions as the first, so write up the change order and redesign the right side framing. The volume enclosed by the framing didn’t change, just how the inside is configured. I was able to fit a drawer above the refrigerator and the camp stove now has its own cupboard behind the fridge, too. On the other hand, the left side is a different story.
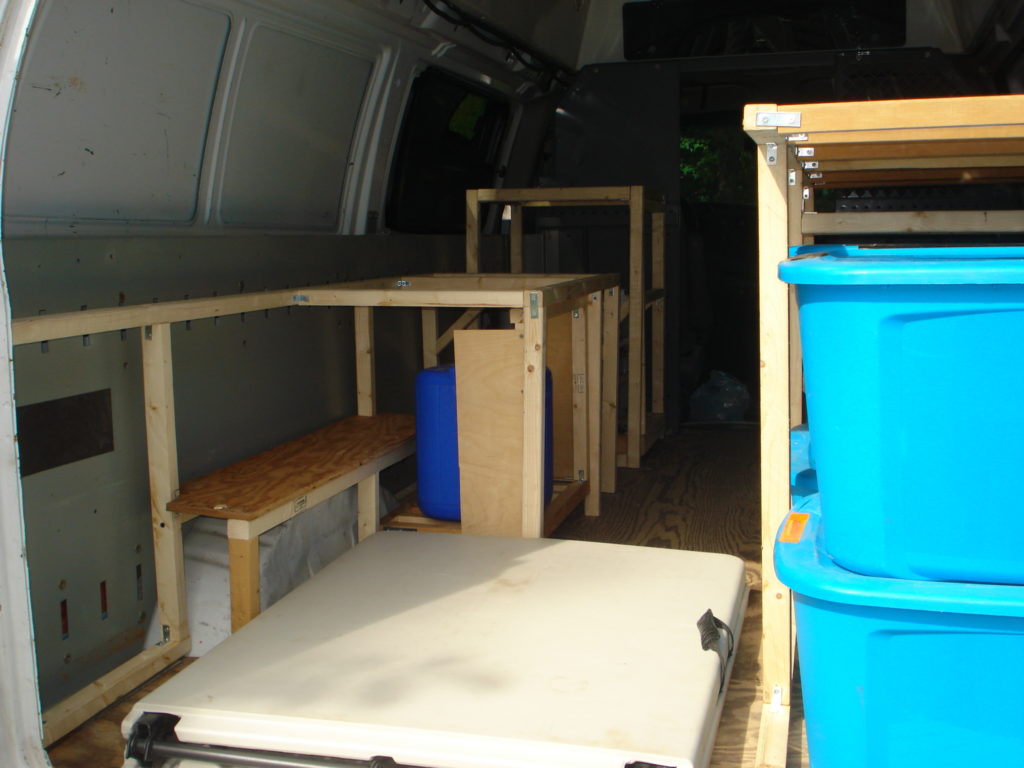
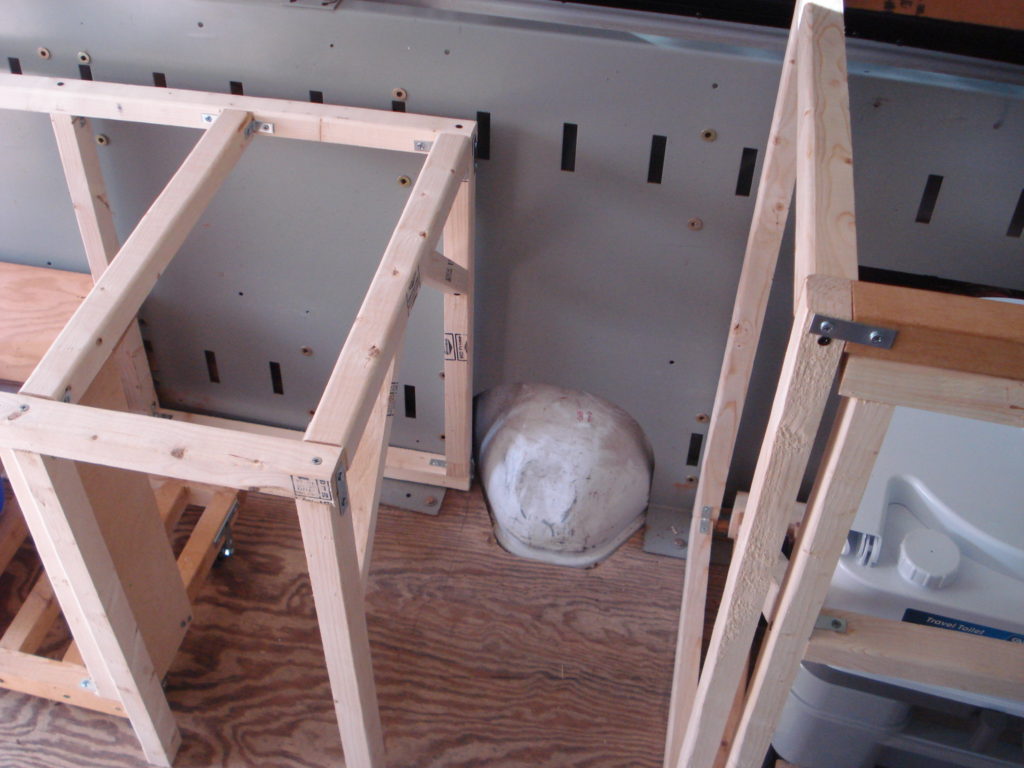
In the original plan, the left side would have (from back to front) a six foot bed, a work table, and then a toilet just behind the driver’s seat. Under the bed is where the two 5 gallon water jugs are stored. Whatever space is left under the bed is for a storage slide out. (The jugs have their own slide out, too.) Since the toilet slide out is taller than the bed, I built the frame for it separate from the rest of the left side framing. And then I test fitted the toilet frame…only to realize that the top of the table would be about 12 inches wide. You really can’t do much on a table that small, and there wouldn’t be much knee room, either. (See below.) So, what was originally going to be the table, suddenly became more storage. Just what I needed!
Table, Take Two!
I was sitting on the left side framing, staring at the right side framing and wondering how to solve the new table problem. BTW, this is the part of the process where I envision a large stew pot with a lot of ingredients thrown into it. You start stirring it, and tasting it, and tweaking it, and eventually you get a stew you like and it’s time to eat. After a little “tweaking”, I realized the problem wasn’t that hard to solve. In order to have any kind of space for a kitchen, there has to be a prep area: good working height, as much counter space as you can get, and a place to stand. In order to have a place to stand in the camper, the bed has to be convertible, well, at least part of it, anyway.
I knew from the beginning that the lower half (or so) of the right side of the bed would have to be removable. I kept wrestling with what to do with the part that comes off; where to put it when it is not needed, etc. The “on the road” mode for the bed will be the same as at night when sleeping. Other than that I hadn’t intended to use it for anything else, but now it is also a table. Or it will be. The bed/table will be one of the last details I construct, so haven’t gotten there, yet.
Which means it’s about time for some more (re)design, again…
And Thus Endeth…
Van Conversion Part 3 of an ongoing blog series about converting a delivery van into a camper. Join me next time for another thrill packed episode!