Planning and Design
Welcome to Planning and Design Part 1…
Typically, planning comes before design, but it’s really all just a big muddle.
You have to make a plan regardless of how small a project may be. One of the things my dad liked to remind me about was what he called the Six P’s of Management: Prior Planning Prevents Piss Poor Performance. “If you fail to plan, you are planning to fail” is how Benjamin Franklin put it. After all, it is kinda hard to get started if you don’t know where it is you’re going.
I look at this part of the process like it’s a circle. It doesn’t matter where on the circle I start. By working through the planning process, I’ll get back to where I started and should have considered “everything.” You just have to jump in and be ready to change plans when you have to. Or, as Adam Savage of TV’s Mythbusters put it, “No plan ever survives first implementation.” I have to agree with the use of the word “ever” in this case because of another bit of wisdom. One of Murphy’s Laws states that nature always sides with the hidden flaw. And because you didn’t see it at first, you will always change your initial plan. The trick is to change the plan so you still get what you need out of the overall design.
The Planning
I usually begin a plan by thinking of what is needed from the “final” design. For the van conversion project, the overall goal is to have a mobile campsite. Something that can be driven to and parked at a campground in the tent area (i.e., no RV hookups needed, but a dumping station would be nice). With this decision made, additional items could be added to the design criteria:
- seats for driver and passenger (maybe dogs in back?)
- comfortable sleeping arrangement
- working toilet
- table (for making baskets)
- air conditioning/heater
- storage for basket booth: bins, tables, etc.
Of these criteria, the last one is the one that is driving the design for the camper interior.
A Little Background
My wife makes and sells Nantucket baskets. I drive her and her baskets back and forth to a handful of craft shows in the New England region. Some shows are more than a two hour drive from home. Last season I was listening to the vendor in the booth next door say, “We always stay over night if we have to drive more than 90 minutes.” And that got me to thinking about how we could (cheaply) spend the night at future craft shows. Most people would solve this problem by staying in a motel, hotel, or maybe a bread and breakfast and I thought of these, too. But after a call from my mechanic, I had another thought.
Once upon a time, I convinced my wife to go “camping” at Acadia National Park in Maine. She hasn’t done as much as I have in the great outdoors so she didn’t want to rough it too much. Therefore, a compromise was in order. We wound up renting a cabin at a KOA campground. It had a bed big enough for two in it and a picnic table outside for cooking and dining al fresco. The bath house wasn’t too far away so, all in all, she enjoyed her camping adventure.
Fast Forward a Little
Right after I got the call from my mechanic, the pieces just kinda fell into place. The problem of craft fairs far from home could be solved if we had a camper. Not only did we need a working toilet and a place to sleep (comfortably!), but we also needed enough storage for everything for her booth. Her booth consists of:
- five plastic bins (for hauling the baskets and administrative stuff)
- two large folding display tables
- an E-Z Up
- two folding chairs
- various display pieces
- a collapsible wagon
- two plastic milk crates holding a total of eight gallons of water.
Now the plan involves designing a cabin interior that will provide enough storage for all that booth stuff and meet the rest of the design criteria.
And Then, Reality Steps In
Just to show how much of a muddle planning and design can be, I just realized that I may have to re-design (yet again!) the framing for the cabin interior. As I mentioned above, part of the “storage for basket booth” is the two plastic milk crates; each with four gallons of water. I decided to re-use gallon containers instead of buying the “official” hold down weights from the E-Z Up people. (FYI, the E-Z Up does come with hold down stakes but some venues don’t allow them because of underground sprinkler systems or because the stakes don’t work well with asphalt.) The problem is that before today I didn’t consider their weight and placement within the camper while driving.
One objective I have for the overall build is that the way camper drives should be just a heavier version of itself. This gets my inner engineer worring about the final center of gravity being too high or too much to one side. Ideally, the center of gravity should be as low and as close to the center line of the camper as possible. Therefore, I have to worry about the heavy stuff and where it will be stowed when driving. On the floor and on the center line would be great, but this doesn’t help when you want to otherwise use the space. The problem is that I accounted for the two five gallon water jugs (i.e., the domestic water supply) but forgot about the two milk crates, until now.
(Yet) Another Redesign
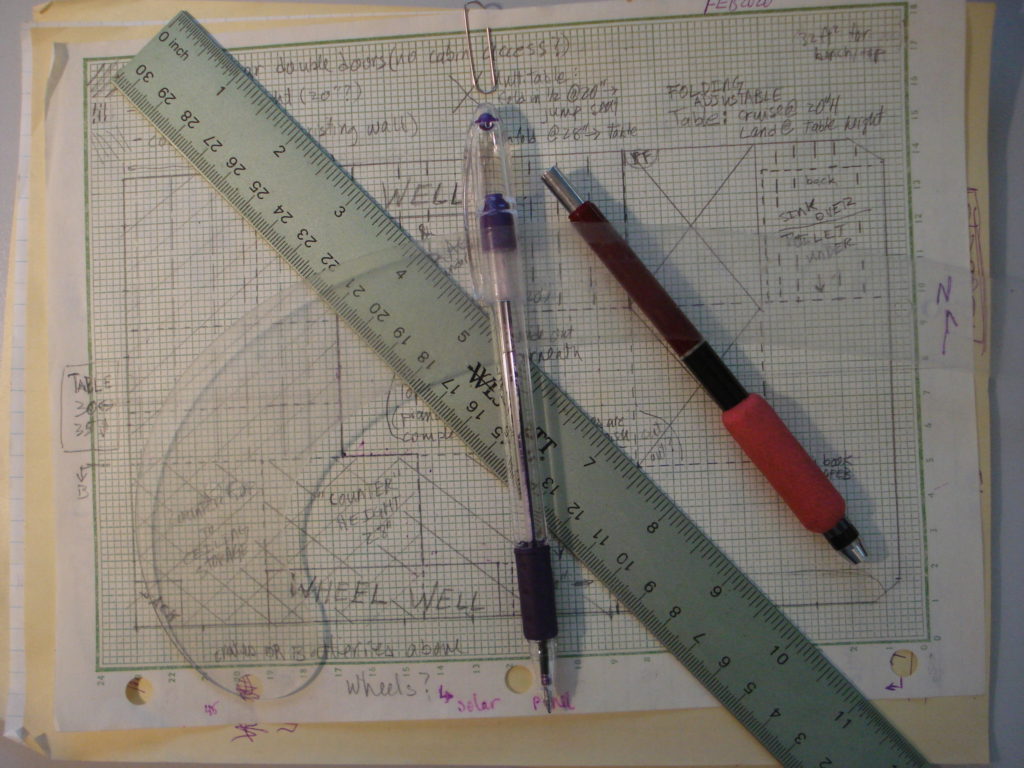
So, instead of finishing this blog post, I got out the tape measure and some of the “booth stuff” to deal with where to put the milk crates. I like the framing plan I’ve already developed so I wasn’t thrilled about changing it. After some head scratching though, I think I found a place for the crates without changing the framing plan too much.
That’s All for Now
Bottom line: you should get used to changing the plan and/or design because there always seems to be something else…
Well, that’s it for planing and design part 1. Hope you come back for part 2!
Coming next: less planning, more design?