My Creative Process
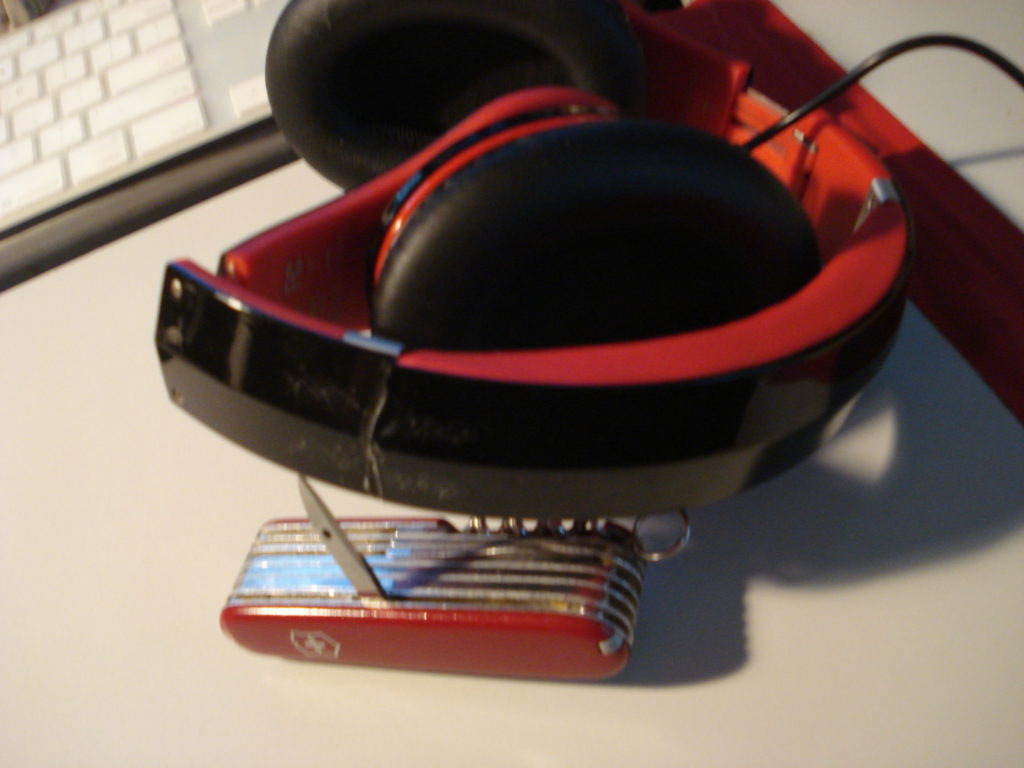
My creative process usually starts with a problem to solve. Typically, this would involve fixing something that broke or redesigning/fixing something I’ve bought, but doesn’t quite meet my needs. This time around it involves fixing my broken headphones (see pic above).
There’s Your Problem
The accident of greatest concern to nuclear power plant engineers is a Loss of Coolant Accident, or LOCA. And “the big one” in this category is a guillotine break of the largest pipe that supplies water to the reactor. A guillotine break is when the pipe is completely severed and water has the entire pipe cross section to “leak” out of the pipe; basically, it’s a flood. Unfortunately, guillotine breaks happen in every day life, too. The problem is that they can be among the toughest breaks to fix, like the break on my headphones:
Granted that this break isn’t as serious as one in a nuclear power plant. After all, I could still use the headphones with them broken. But since I like to keep things tidy, I decided to fix them anyway.
Some Physics
The reason guillotine breaks are tough to fix is because of the (little) surface area you have to work with. Specifically, not enough surface area on the faces of the break where you’d put the adhesive, or glue. The more surface area of each piece that contacts the other piece, the stronger the bond will be. But there’s a problem with the guillotine break. The forces that caused the original break will probably be larger than the bonding force of the glue at the break, so it’s going to break again at the same place. This is especially true of my headphones. I didn’t do anything extraordinary to break them; just normal day-to-day use, put ‘em on & take ‘em off. Therefore, you have to increase the bonding surface area to get a permanent fix.
The (Always) Evolving Plan
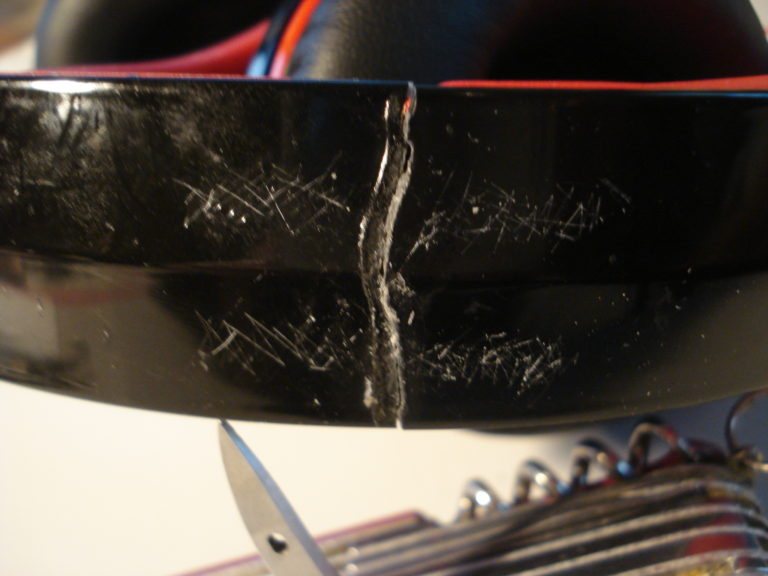
Since I can’t create more surface area at the site of the break, I’ll use the surface perpendicular to the break as the bonding surface. This is shown in the pic above where I’ve scored the plastic on either side of the break. Scoring the area where I’m putting the glue is another way of increasing the bonding surface area. Yeah, it isn’t much of an increase but this also gives the glue another direction to act in so the bond is that much stronger. (FYI, glues work at the molecular level (has to do with electrostatic force, if you’re interested) so any increase in surface area at that level can be, relatively, a lot.)
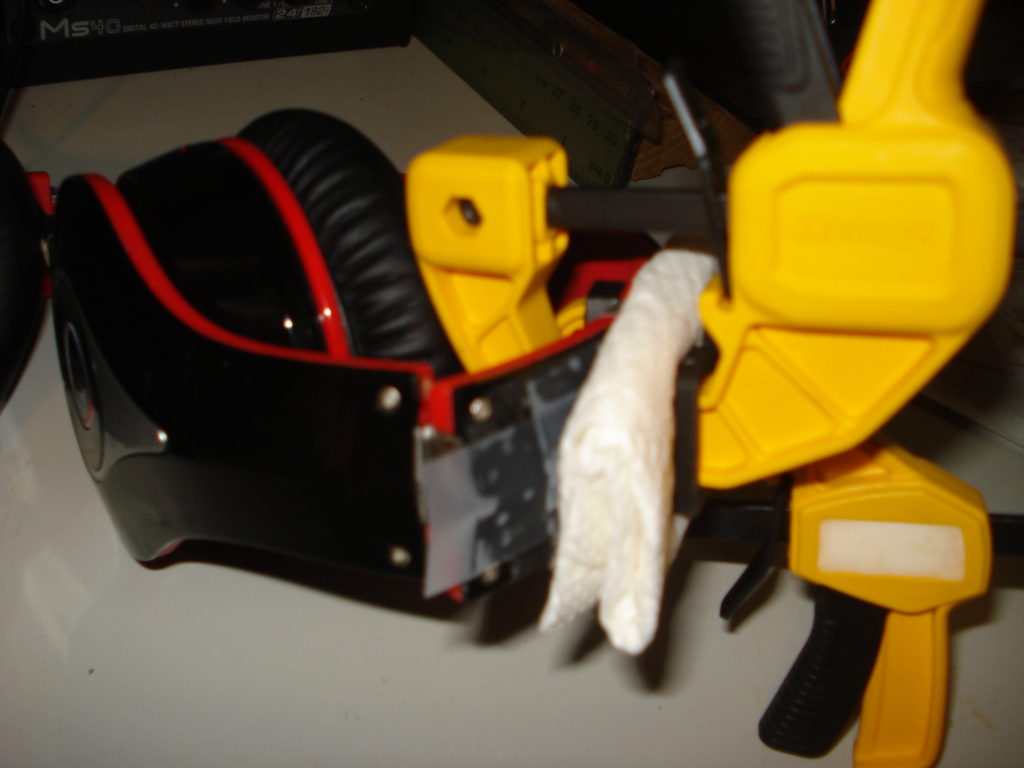
Knowing where to put the glue is only part of the problem. Deciding what materials to use can sometimes be a little more challenging. As a first pass, I cut a couple inch and a half long strips from a plastic gallon milk jug. I then used Weldbond glue and a couple of clamps to secure the strips to the headphones. I used “soft” clamps (i.e., the white stuff in the following photo is a rolled up paper towel) to secure the strips to the headphones. A soft clamp is needed since the headphones aren’t flat in the area where the break happened. The soft clamp fills in the valley and thereby spreads the clamping force evenly. I used the transparent tape between the plastic strips and the paper towel so the paper towel wouldn’t stick to the glue that seeps out because of the clamping.
And the First Round Goes to…
As always, the first round goes to Murphy, so there will be a design refinement, or two, or more…
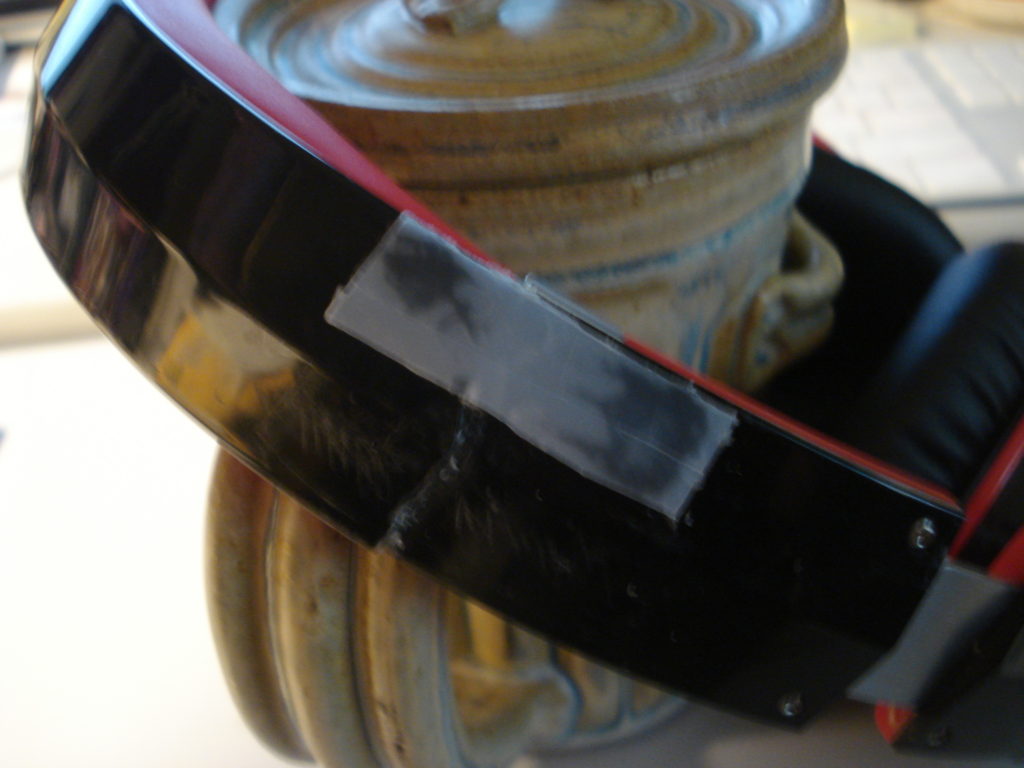
What I got for all of my effort turned out to be nowhere near what I needed for a permanent repair. I thought I had treated each plastic strip the same, but one of them stuck better than the other. So I tried a different adhesive, Gorilla glue construction adhesive. This held a little better but still wasn’t going to work. The following photo is just after taking off the Gorilla construction adhesive on the bottom side. The dark spots on the remaining plastic strip are where the glue is actually working. A little spot on each side of the break will keep the pieces lined up, if I don’t want to use the headphones.
But since I do want to use them, the design had to change again. The idea of using the strips to increase surface area is sound, but the material choice wasn’t working.
I next considered using metal strips, probably cut to be a little fancy, not just a couple of rectangles. This way, I’d get a little bling along with holding the headphones together. And then, I remembered a previous project involving Weldbond glue, plastic, and leather.
From the Archive
Along time ago, my quest for a decent travel mug ended when I modified one with leather to make the handle more comfortable to use. Fast forward to the current headphone problem where I can use the same solution as I did for the travel mug. The result for both the headphones and the travel mug are shown below.
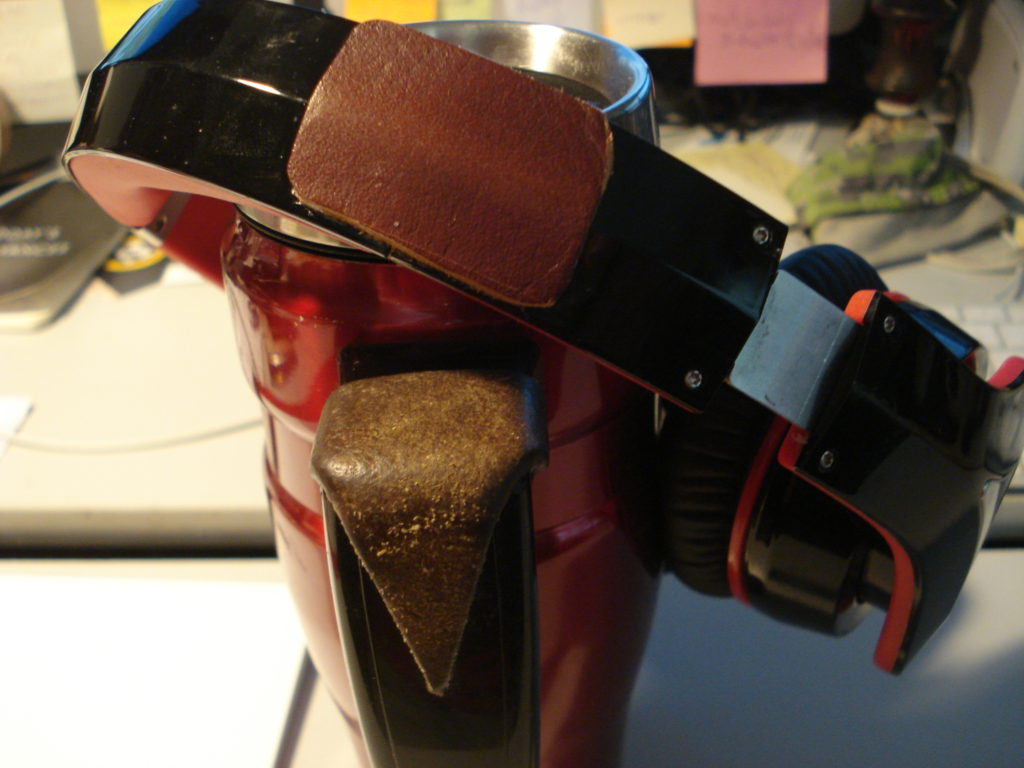
The rough side of the leather is ideal as a gluing surface so the leather wasn’t going anywhere on the headphones. (But note on the travel mug the rough side is out. If you put glue on the smooth side of the leather, be sure to “rough” it up first.) The travel mug project showed me that Weldbond does well with hard plastic as long as you score the surface first. Again, I used the soft clamp to make sure the glue got squeezed out. This way, the entire surface area of the leather gets some glue so the edges shouldn’t come up.
I used a stiff piece of leather so it doesn’t bend much. This quality makes for a good choice for the headphones. Turns out the leather has the flexibility to make the headphones easy to put on/take off but it also has the strength to hold everything together, too.
And in conclusion
My creative process, like anybody else’s, is hardly ever a straight line and rarely without mistakes. The creativie part comes from dealing with and “fixing” those mistakes.