Van Conversion Part 2
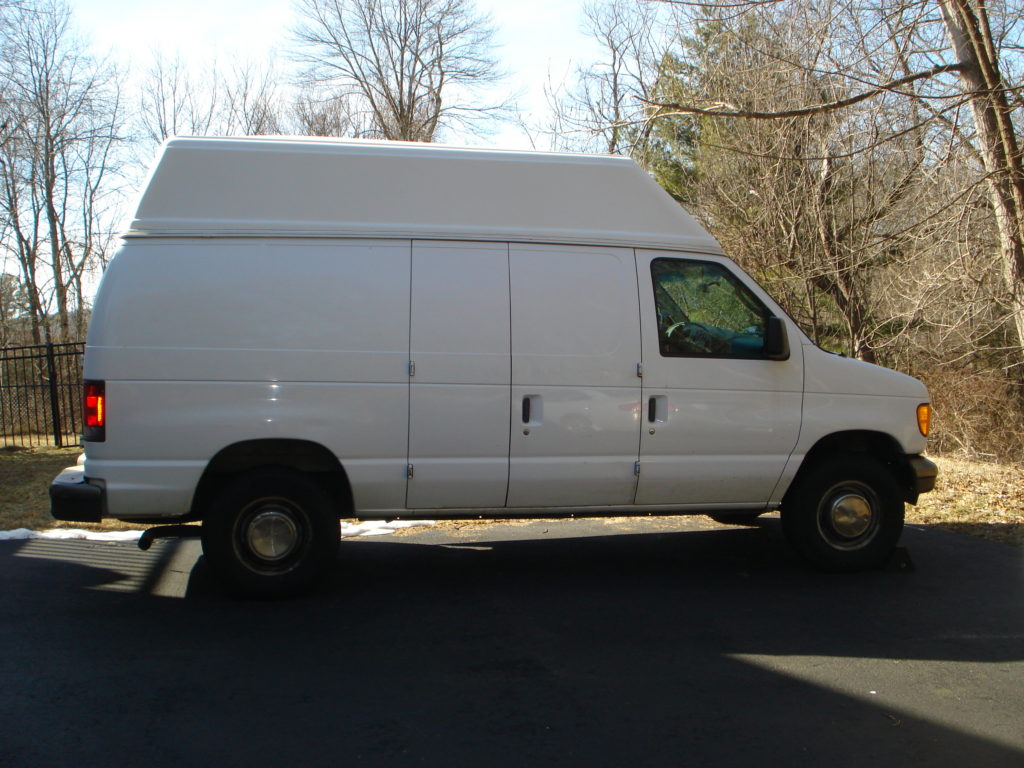
Van Conversion Part 2 picks up pretty much where Part 1 ended. I finished removing everything I didn’t want, so now I can put in the stuff to make it a camper. This begins with the windows.
Let’s Be Clear
I knew early on in this process that I would be putting windows into the camper. It just seemed to go without saying that, of course, the camper would have windows. You can’t “live” in a space without windows. That being said, I wasn’t really looking forward to installing them.
Part of my hesitation is that I haven’t done a lot of metal working. I’ve had the occasional project where I had to do something to a metal piece: bend, twist, or flatten it. But the “metal work” wasn’t the main part of the project; just something I had to do to get it all to work together. This project involves carefully cutting a hole (three holes, actually) in the side of the van. Too small isn’t much of a problem because the hole has to be big enough to fit the window. On the other hand, too big is a bigger problem.
Learning Metal
When I work with wood, I’m not too concerned about taking off “too much.” I’ve done it enough times where now I don’t worry at all. I can either re-cut the piece or fashion something out of wood to fix the problem I just made for myself. I understand wood well enough to not get worried when I make a mistake. I’ve got the tools and understanding to make it work. I can’t say this with a lot of confidence when I work with metals.
Eventually, the weather gave me a warm enough day with no rain, so I couldn’t make any more excuses. I decided to think of the cutting process as if I was working with wood, except I’d be using a metal saw blade/drill bit instead of one for wood. I drilled the holes in the corners, inserted my metal jig saw blade and started cutting. As it turns out, I shouldn’t have been so worried. Since I had the right tool and let the jig saw do the work, I was doing good, until I wasn’t. I had a little problem with the jig saw blade not being long enough to cut through the double wall thickness, but a longer blade solved this problem. More on this later…
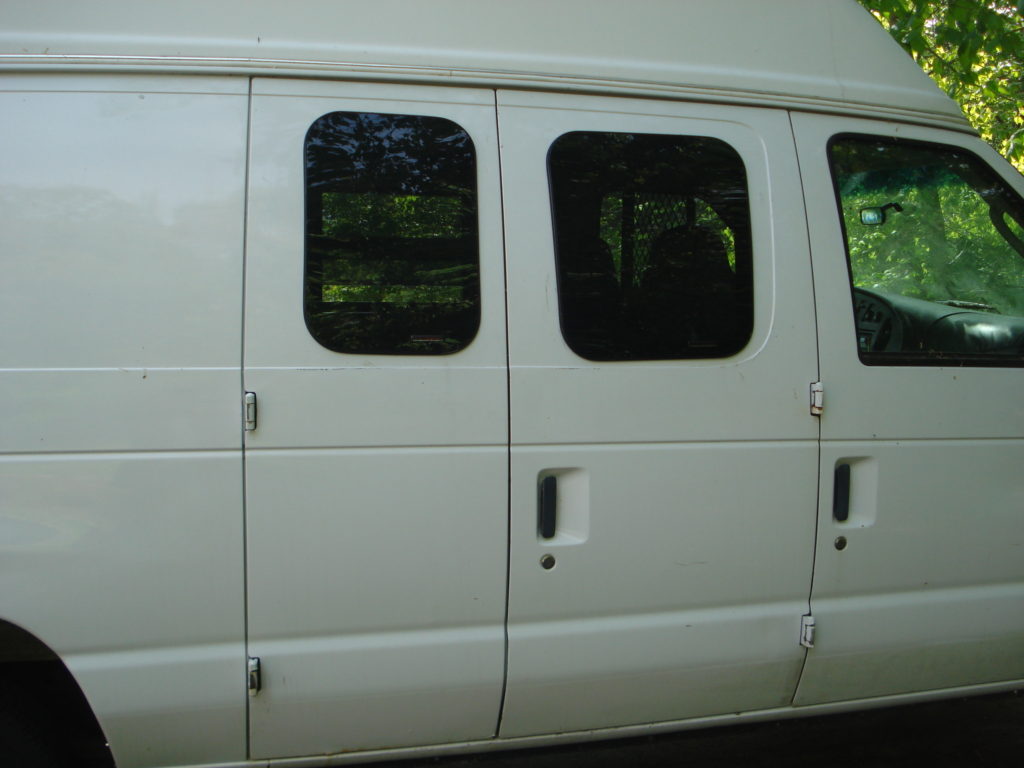
The Windows
I got all three windows from Van Windows Direct. While they may not win many points for creativity with their name, their service can’t be beat: ordering and delivery were no problem. The two passenger side windows are meant for the two passenger side doors for Ford Econoline Vans, 1992 – 2018. They also sell windows specific to other vans: Sprinters, Mercedes, Nissan, Chevy, Ram, and Ford Transits.
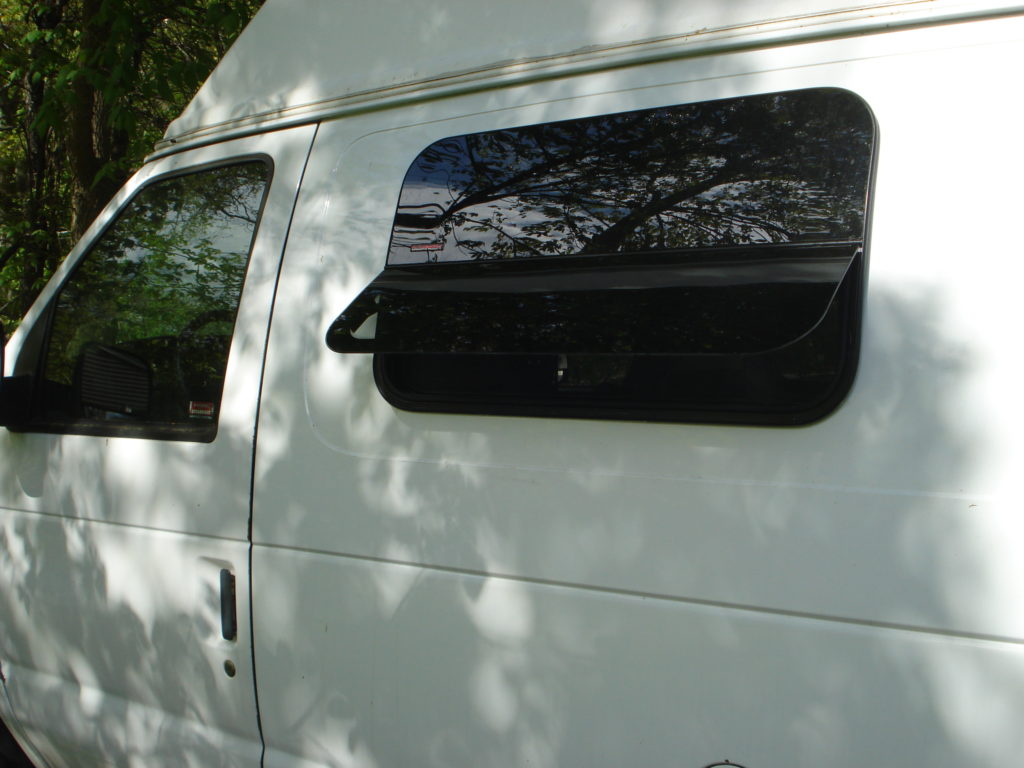
The third window is advertised as a “Universal Crank Out Window” so it’ll fit many different vans. And it fits well in the driver side of my camper, too. I got this particular window because it will allow some ventilation and because it’s big enough to give the dog(s) a good view when we’re on the road.
Van Windows Direct provided instructions that were fairly easy to follow. I didn’t need any additional customer support from them, but some of the reviews raved about how much help the customer service people provided. So, overall, a good experience buying van windows.
The Install
As for the install, somewhere in the instructions it says something about “installing in a single wall”, or something like that. The reason for this is that the clamp ring that secures the window from the inside isn’t meant to go through walls more than whatever the thickness of automobile sheet metal is. Unfortunately, the passenger side doors use a double wall construction (thus the longer blade!). Therefore, I had to finagle the clamp rings between the two walls before I could secure the windows. The result may not be pretty on the inside, but those windows aren’t going anywhere. For the most part, the driver side window is set into a single thickness so no real problem there. I’ll just have to make the interior trim on the passenger side windows pretty later.
The Take Away
I confess that the windows were not installed “perfectly.” Being an engineer, I learned that nothing will ever be 100% perfect. (Remember Murphy’s Laws!) I’m gonna make mistakes and this was true with the window installs. I was worried about cutting into the camper because there’s no do-over: cut once, deal with the result. And that is what happened, especially with the big window. By the time I got to the big (i.e., the third) window, my confidence had increased and I figured “I got this.” When I dry fit the window, after cutting the opening, it went in without much struggle. And that’s because I cut the opening just a little bit bigger than I should have.
So, like many creatives before me, I made a mistake. What I realized is that the mistake doesn’t matter. What matters is what you do with the mistake. Leonardo and other artists simply paint over their mistakes. For me, I just needed a little bit more caulk than if I’d cut the opening smaller. By emphasizing function over form, it was easy to fix my mistake. It’s rained a couple of times since I installed the windows and they don’t leak. Doesn’t hurt that they don’t look too bad, either.
End Van Conversion Part 2
This ends Van Conversion Part 2. Part 3 will be all about putting the interior framing together. (Check out the post describing how I came up with the design.)