Planning and Design Part 3
This is Planning and Design Part 3 of this may be the last of planning and design posts(?).
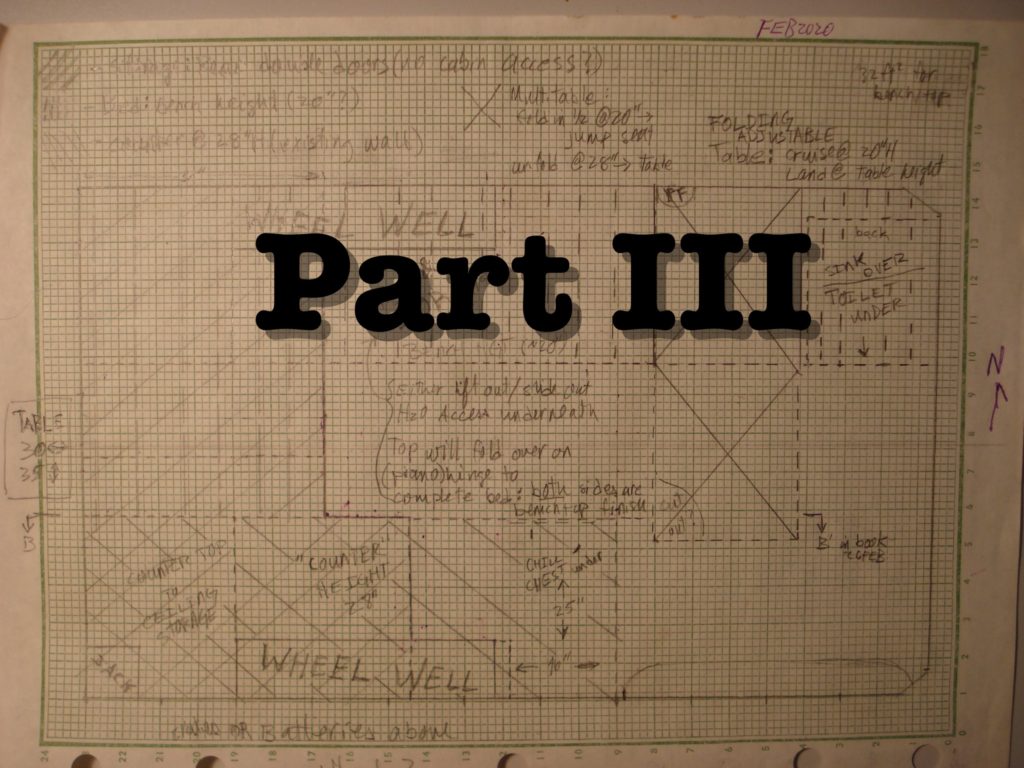
Where We Left Off
At the end of Part 2, I presented the two floor plans I’ll use to build the camper interior. Admittedly, these plans probably don’t make any sense without studying them first. So, a little explanation is in order.
Some Background First
I have been subscribing to the “new technology” newsletter New Atlas for a while. I like this newsletter because every now and then there will be an article about recreational vehicles. Sometimes the article is about some company offering a new RV. Sometimes the article is about a new or improved RV feature. So, I’ve read quite a few articles about RVs. This was a good way to learn about what may or may not work for my build.
Camper interior design is like planning a backpacking expedition. For backpacking expeditions, I carry a house on my back. I’ve got a bedroom to furnish, a kitchen to stock, and all that bathroom and “leisure” stuff to fit in, too. From the New Atlas articles I discovered that there are some tried and true floor plans. These plans tend work, regardless of the size of the RV. For example, bedrooms tend to be in the back (above the “basement” or storage space), bathrooms behind the driver, and kitchens opposite the bathroom. From a vehicle stability viewpoint, these decisions make sense. So I’ve placed those rooms accordingly.
The Process, Kinda
First I had to decide where to put all of that booth stuff in the storage area. Second was to figure out how to configure the other rooms to be comfortable.
The Nantucket basket booth fits in five large plastic bins, plus those items too big to fit in the bins. Four bins are blue, all of the same size, and contain the baskets themselves. The fifth bin is the admin bin and slightly larger than the blue ones. However, it does stack well with the blue ones, too. These five bins are the most important to the effort so I started with them.
The Zen Part
At the beginning of these processes I think of a circle. It doesn’t matter where on the circle I start. As long as I address all of the things on my “must have” list, I should (theoretically) have accounted for all of the design criteria. So, seemingly arbitrarily, I stacked two blue bins and put them in the right rear corner of the van. After stacking the other two blue bins, I moved them around until the two stacks of bins just “seemed to fit.” The size of the folding tables dictated the best place for them. Their placement effectively defined the size of the storage area. After making sure the rest of the booth stuff would fit in the storage area, I moved on to the cabin interior.
Where the Living is (Hopefully) Comfortable
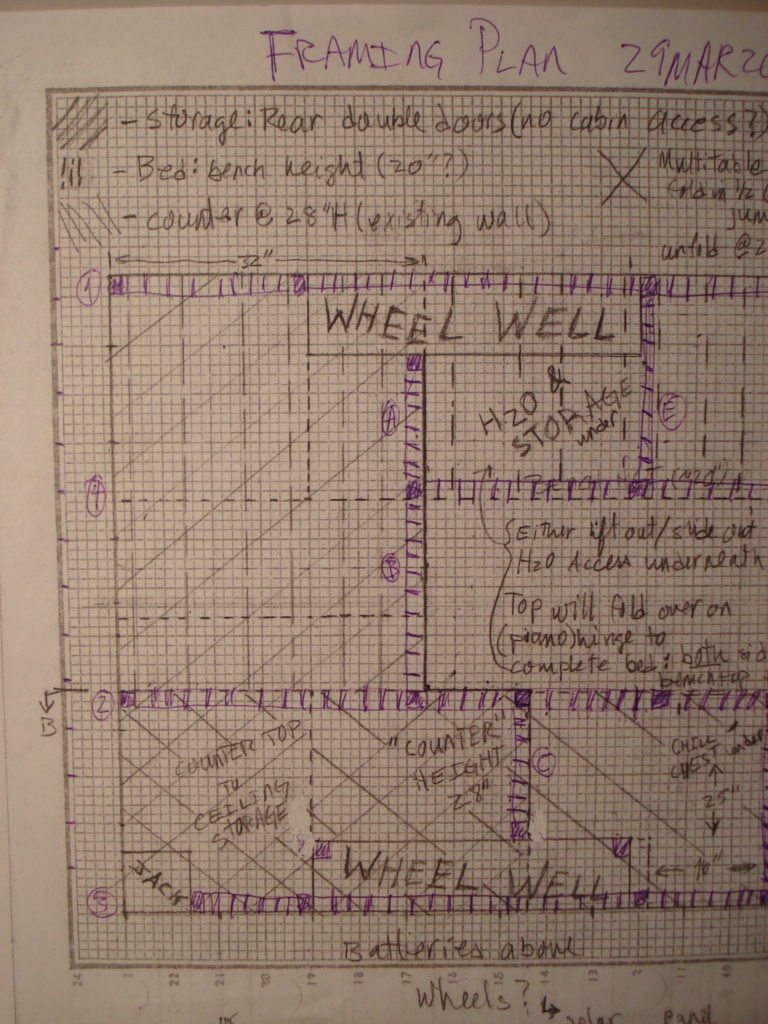
According to the tried and true RV floor plans, the bed goes in the back, so it’s above the storage area and more to the left side. Since the two stacks of two blue bins are just a little shorter than a countertop, along the right side seems to be a good place for a countertop. (Maybe a good place for the kitchen, too?) And of course, the toilet goes right behind the driver. So, from the design criteria list, this just leaves placing the work table. The only place for a table seems to be between the end of the sleeping surface and the toilet box. Now I know where the rooms are so the general layout is done. This is all shown in the framing plan enlargements, below.
I’m showing the framing plans since they are easier to see. To help with visualizing the cabin interior, I think of it as a bunch of boxes I have to connect together. For example, the bin box not only has the blue bins in it, but also the jack and part of the passenger side wheel well. This is shown in the lower left corner below. The storage box is just above it. The water (H2O) box is forward (or to the right in the photo) of the storage box along the driver side wall. The chill chest box is forward of the bin box along the passenger side wall.
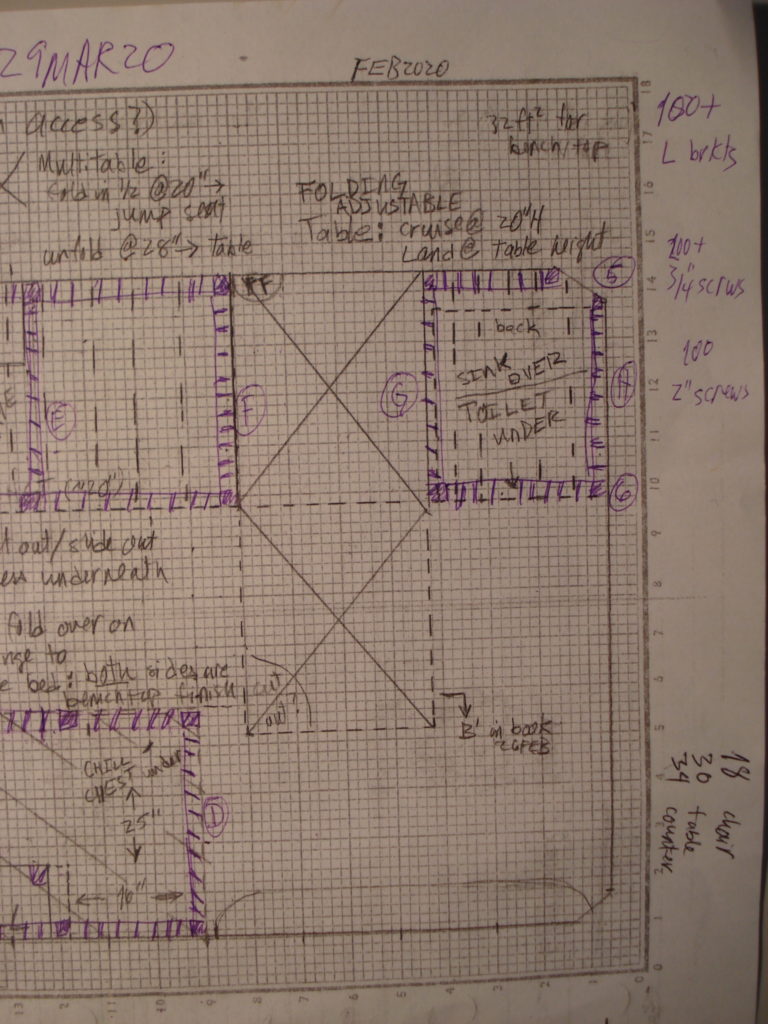
The forward framing plan shows the forward end of the chill chest box along the passenger side wall. On the opposite wall, going from left to right, is another storage box (not labeled, tho), space for a table (the big X’s), and, finally, the toilet box nestled in behind the driver.
Now that I know where things are going, it’s time for finer details. But first…
Next time
Next up, I’ll address some of the “medium” details. These details include: how/where to place the refrigerator and cook top; whether or not to have a sink, and, if so, how/where?
This’ll end Planning and Design Part 3…and yeah, there’ll be another.