Converting to Digital
Converting to digital from old school film is today’s topic. But first, we’ll start with a little
Motivation
There are two things that will get me to do something, the first is a deadline. Sometimes deadlines are flexible, sometimes not, but they should be met.
The second thing that gets me to (finally!) do something is that nagging feeling that enough is enough: “just get it done, already!” This is what happened a couple weeks ago with all of those negatives I recently discovered again.
More Photo History
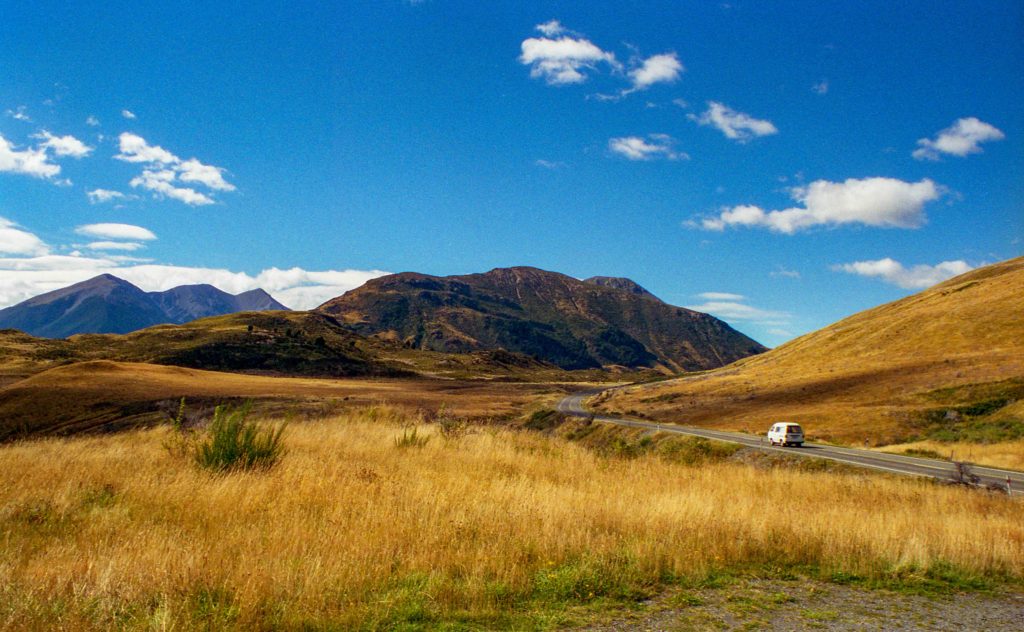
I’m referring here to that “husband-daddy” time, between using only Kodak slide film and my first digital camera. I took thousands of family snaps but not much of the outdoors. During this time I had a job where I traveled the planet. On some of these trips, I was lucky enough to get out of the city and see some of the country, too. Of course the camera was with me so I was able to take more than just some snaps. When I went to Europe, I tended to stay in the city, so those pictures have a lot of culture in them, not much sky anyway. However, when I went to Australia and New Zealand, I got to see something of the countryside.
A couple of weeks ago, I finally reached the point where I had to go through those thousands and thousands of photos. Okay, it was only 252, but I still had to convert them to jpegs and that would take a little doing. Not to mention what would come after…
Yet More History
Once upon a time, I paid to have 315 slides digitized. When I got them back I was a little disappointed. It looked like I hadn’t cleaned the slides before I sent them out. Since I didn’t know better, I figured I had goofed and thank goodness I have Adobe’s Lightroom and Photoshop to clear up those dust motes, etc.
After I ran those 315 slides through Lightroom/Photoshop, I rediscovered another 159 slides that hadn’t gone out in the first batch. This is when I bought the scanner and found that I probably had cleaned the first batch before sending them off, after all. It turns out the scanning process sometimes adds a little something extra that it shouldn’t. So, it was back to using Lightroom/Photoshop to clean up the second batch of slides, too. At least there weren’t as many slides in that second batch.
Some time after that, I had a random thought and wondered where the photos I had taken in Scotland were. After a little search, I found them with photos from other European countries, Australia, and New Zealand. And since I already have the scanner…
The Tech-ware
I got an Epson Perfection V600 Photo scanner for projects like this. Like any tech, there’s a learning curve but it wasn’t too bad. I had to play around with some of the scanner’s software settings but eventually got what I wanted. One of the software switches is for Color Restoration. This basically enhances whatever the scanner “sees” by making it less hazy. For the most part this works fairly well and I kept it turned on for scanning both slides and negatives. However, there were some pictures that looked like cartoons because the color restoration went a little too far. Thankfully, I didn’t want to keep any of the “cartoons”, anyway. Another switch I turned on was for Dust Removal. Frankly, I don’t think this did anything, given how much retouching I had to do.
Unfortunately, the optical to digital conversion process is not without its problems.
During the Process
The first step in converting a negative into a jpeg is to get the film strip into the holder, clean it, and put the holder on the scanning glass. Slides are easy to load into the holder and stay flat during the scanning process. Negatives, however, have a natural side-to-side curve and do not always lie flat in the holder.
With the film holder loaded, the scanner does the work and then puts a jpeg file on your computer. Sometimes you get more than you should have:
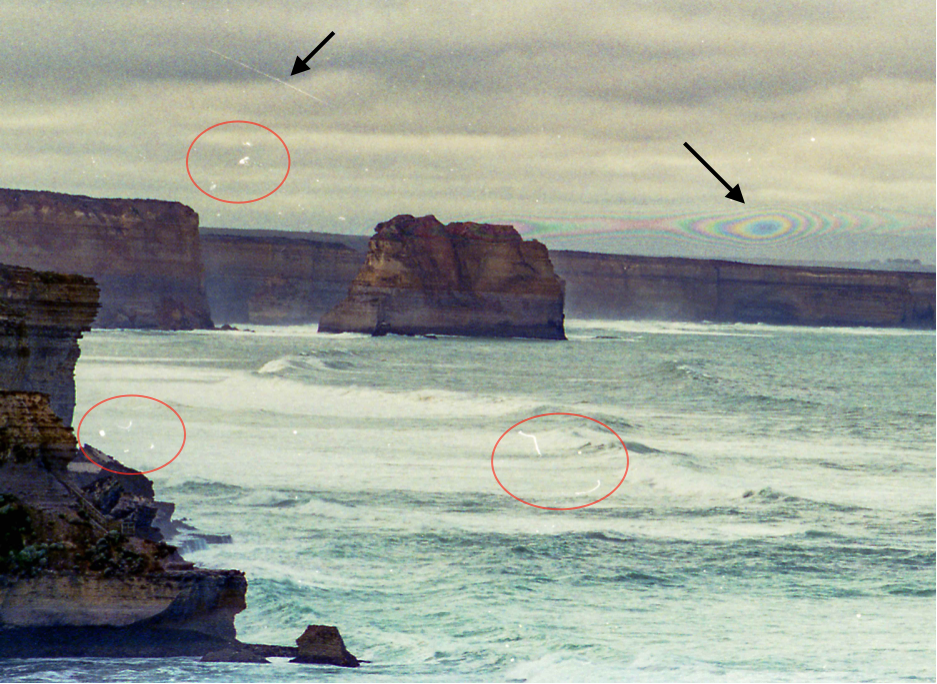
Everything highlighted in this photo was not really there when I took the picture. It was all added during the scanning process. The bull’s eye pattern to the right is (I think) what happens when the negative doesn’t lie flat relative to the scanner glass. Lines like the one shown in the upper left can be at various angles. I don’t know what causes the bright blobs and curved lines like the ones in the red circles. (And sometimes the blobs are dark spots on light colored backgrounds.) Wherever this stuff comes from, it can’t stay in the final photo:
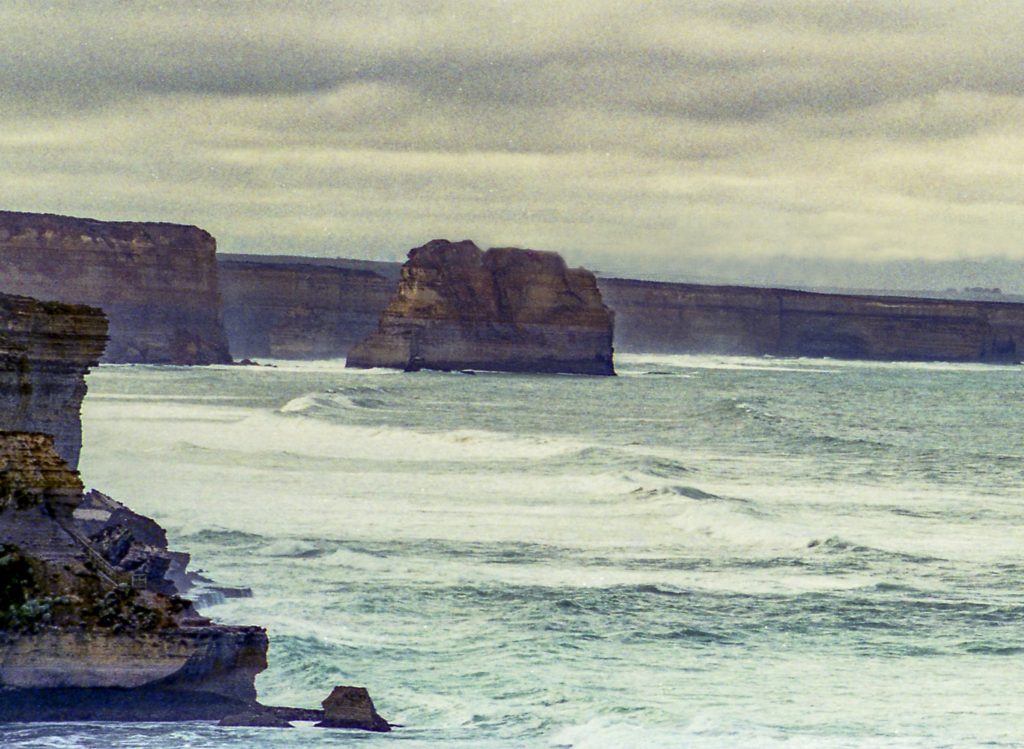
Through a little trial and error I found that Lightroom is good for taking care of the blobs and lines, while Photoshop is quite effective at removing the bull’s eye problem.
The Results
Overall, I’m pleased with how the Down Under photographs turned out. I think the photos that were once slides or negatives have a distinct look to them that reflect their history. (For instance, the sky tends to be a little bluer.) Please enjoy the first Down Under photo gallery. More “Olde Tyme” galleries to come!
And thus ends, Converting to Digital: comments welcomed!